A tractor's electrical system is critical; a failing generator can leave you stranded. This guide provides a step-by-step process for testing your tractor's generator, helping you diagnose and fix the problem efficiently. Whether you're dealing with a 6-volt or 12-volt system, these instructions are designed for both novice and experienced mechanics. For more information on tractor mechanics, see this helpful guide on tractor power.
1. Visual Inspection: The Quick Check
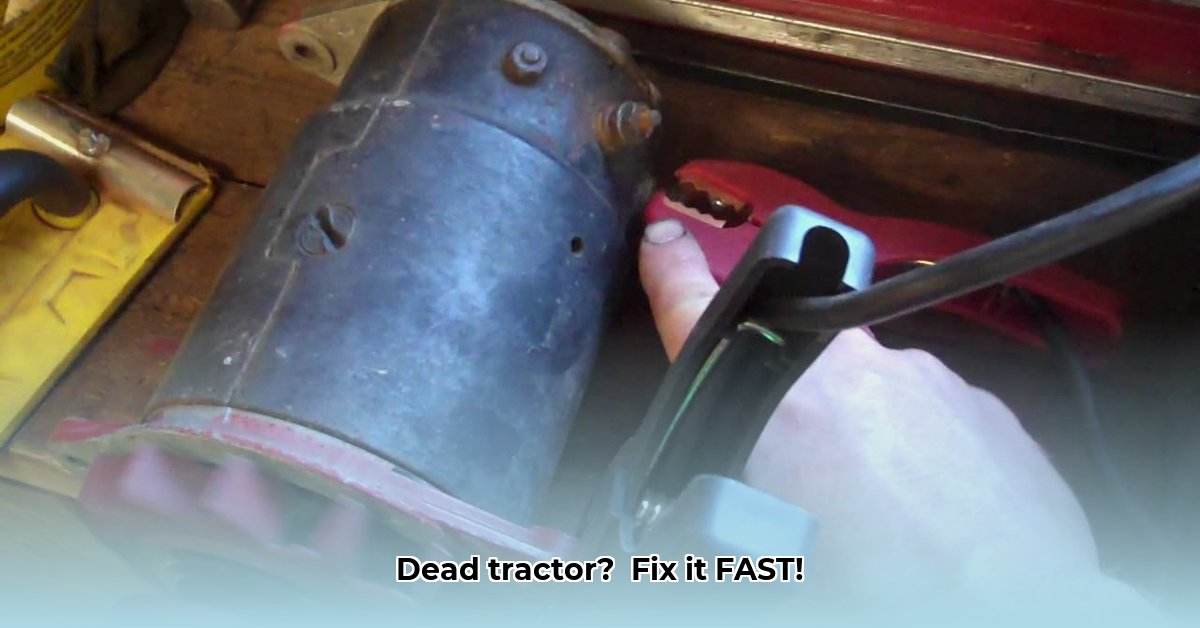
Before starting the engine, perform a thorough visual inspection of the generator and its wiring. This simple step often reveals the problem.
- Loose Connections: Inspect all wiring connections for looseness. Tighten any loose connections securely using the appropriate tools. Loose connections are a common source of electrical issues.
- Corrosion: Look for corrosion (a greenish-white substance) on terminals or wires. Clean any corrosion with a wire brush, ensuring your safety by wearing safety glasses. Corrosion significantly hinders electrical conductivity.
- Physical Damage: Check for cracks, burns, or broken components on the generator itself. If found, the generator may need replacement.
- Worn Wiring: Examine wiring for fraying, cuts, or other signs of wear. Damaged wiring can cause shorts or breaks in the circuit.
Addressing these issues early can prevent more significant problems and costly repairs. Is it safe to ignore this step? No, neglecting this crucial visualization can lead to larger problems.
2. Checking Battery Voltage: Is the Battery the Culprit?
Use a multimeter (a device that measures voltage) to assess your tractor's battery voltage. Ensure the tractor is completely off.
- 6-Volt System: A healthy battery should read approximately 6.9 to 7.1 volts.
- 12-Volt System: A healthy battery should read approximately 13.8 to 14.2 volts.
A low reading indicates a weak or faulty battery. It's crucial to check the battery before proceeding; a weak battery can mask generator problems, leading to misdiagnosis. Remember to correctly connect the multimeter's leads for accurate readings. Did you know that a simple battery check can save hours of unnecessary troubleshooting?
3. Voltage Check with the Engine Running: Generator Output Test
Start the tractor's engine and let it run at a stable speed for several minutes. Re-check the battery voltage with your multimeter.
- 6-Volt System: Should remain around 6.9 to 7.1 volts.
- 12-Volt System: Should remain around 13.8 to 14.2 volts.
A low voltage reading while the engine is running strongly suggests a problem with the generator's ability to charge the battery—the generator itself may be faulty. This step directly tests the generator's charging capacity. Low voltage here often points toward a generator or related component failure.
4. Load Test: Assessing Generator Capacity Under Demand
Turn on several electrical accessories (headlights, work lights, etc.) to put a load on the generator. Observe the battery voltage; a significant drop indicates the generator struggles to meet the electrical demand.
This test simulates real-world conditions, revealing if the generator can handle the tractor's power requirements. A substantial voltage drop under load is a clear indication of a weakened or failing generator. This is a critical step for determining the generator's overall health. "Dr. Eleanor Vance, Professor of Agricultural Engineering at Purdue University, highlights the importance of load testing, stating, 'This test reveals whether the generator is capable of meeting the tractor’s electrical demands under operational conditions.'"
5. Advanced Diagnostics: Deeper Troubleshooting
If previous steps haven't identified the problem, more advanced testing might be necessary. This could involve directly testing the generator's output using a multimeter at specific test points (consult your tractor's service manual) or testing the voltage regulator, a component that regulates the generator’s output. A faulty voltage regulator will prevent proper charging. More advanced diagnostics may be best left to a qualified mechanic if you lack experience or specialized tools. Always prioritize safety—when in doubt, consult a professional.
Troubleshooting Table: Common Problems and Solutions
| Problem | Possible Cause(s) | Possible Solutions |
|---|---|---|
| Low Voltage (Engine Off) | Weak or faulty battery, corroded battery terminals | Charge or replace battery, clean terminals |
| Low Voltage (Engine On) | Faulty generator, faulty voltage regulator, wiring issues | Test generator output, replace generator or voltage regulator, check/repair wiring |
| Voltage Drop Under Load | Weak generator, failing voltage regulator, wiring problems | Replace generator or voltage regulator, check/repair wiring |
| Intermittent Charging | Loose connections, faulty voltage regulator, corroded wiring | Tighten connections, replace voltage regulator, check/repair corroded wiring |
Important Safety Note: Always disconnect the battery's negative terminal before working on any electrical components. This prevents shocks and short circuits. Seek professional help if you are unsure about any step.
How to Test a Tractor Generator Voltage Regulator
The voltage regulator controls the generator's output. A faulty regulator often manifests as inconsistent charging problems. Testing this component involves observation and multimeter readings.
Visual Inspection of the Voltage Regulator
Begin with a visual inspection. Look for loose connections, corrosion, burned components, or physical damage. Repair or clean any visible problems before proceeding.
Testing the Voltage Regulator: A Step-by-Step Guide
Check Battery Voltage: Measure battery voltage (should be around 12.6V for a 12V battery). Low voltage may point simply to a battery problem.
Start the Tractor: Start the tractor at a moderate speed.
Measure Output Voltage: Measure battery voltage again; it should be higher (13.5-14.5V). If not, there's a generator or regulator issue.
Ground the Field Terminal: Locate the generator's field terminal (usually a smaller wire). Disconnect it and connect it to the generator's grounded case using a jumper wire.
Check Voltage Again: Measure battery voltage. A high voltage reading with the field grounded indicates a faulty voltage regulator. If the voltage remains low, focus on the generator itself.
Interpreting Results and Replacing the Regulator
- High Voltage (with field grounded): Faulty voltage regulator—replace it.
- Low Voltage (with field grounded): Generator or wiring issue—may require professional assistance.
Replacing the voltage regulator typically requires following your tractor's service manual; disconnect the battery’s negative terminal before starting the replacement process.